
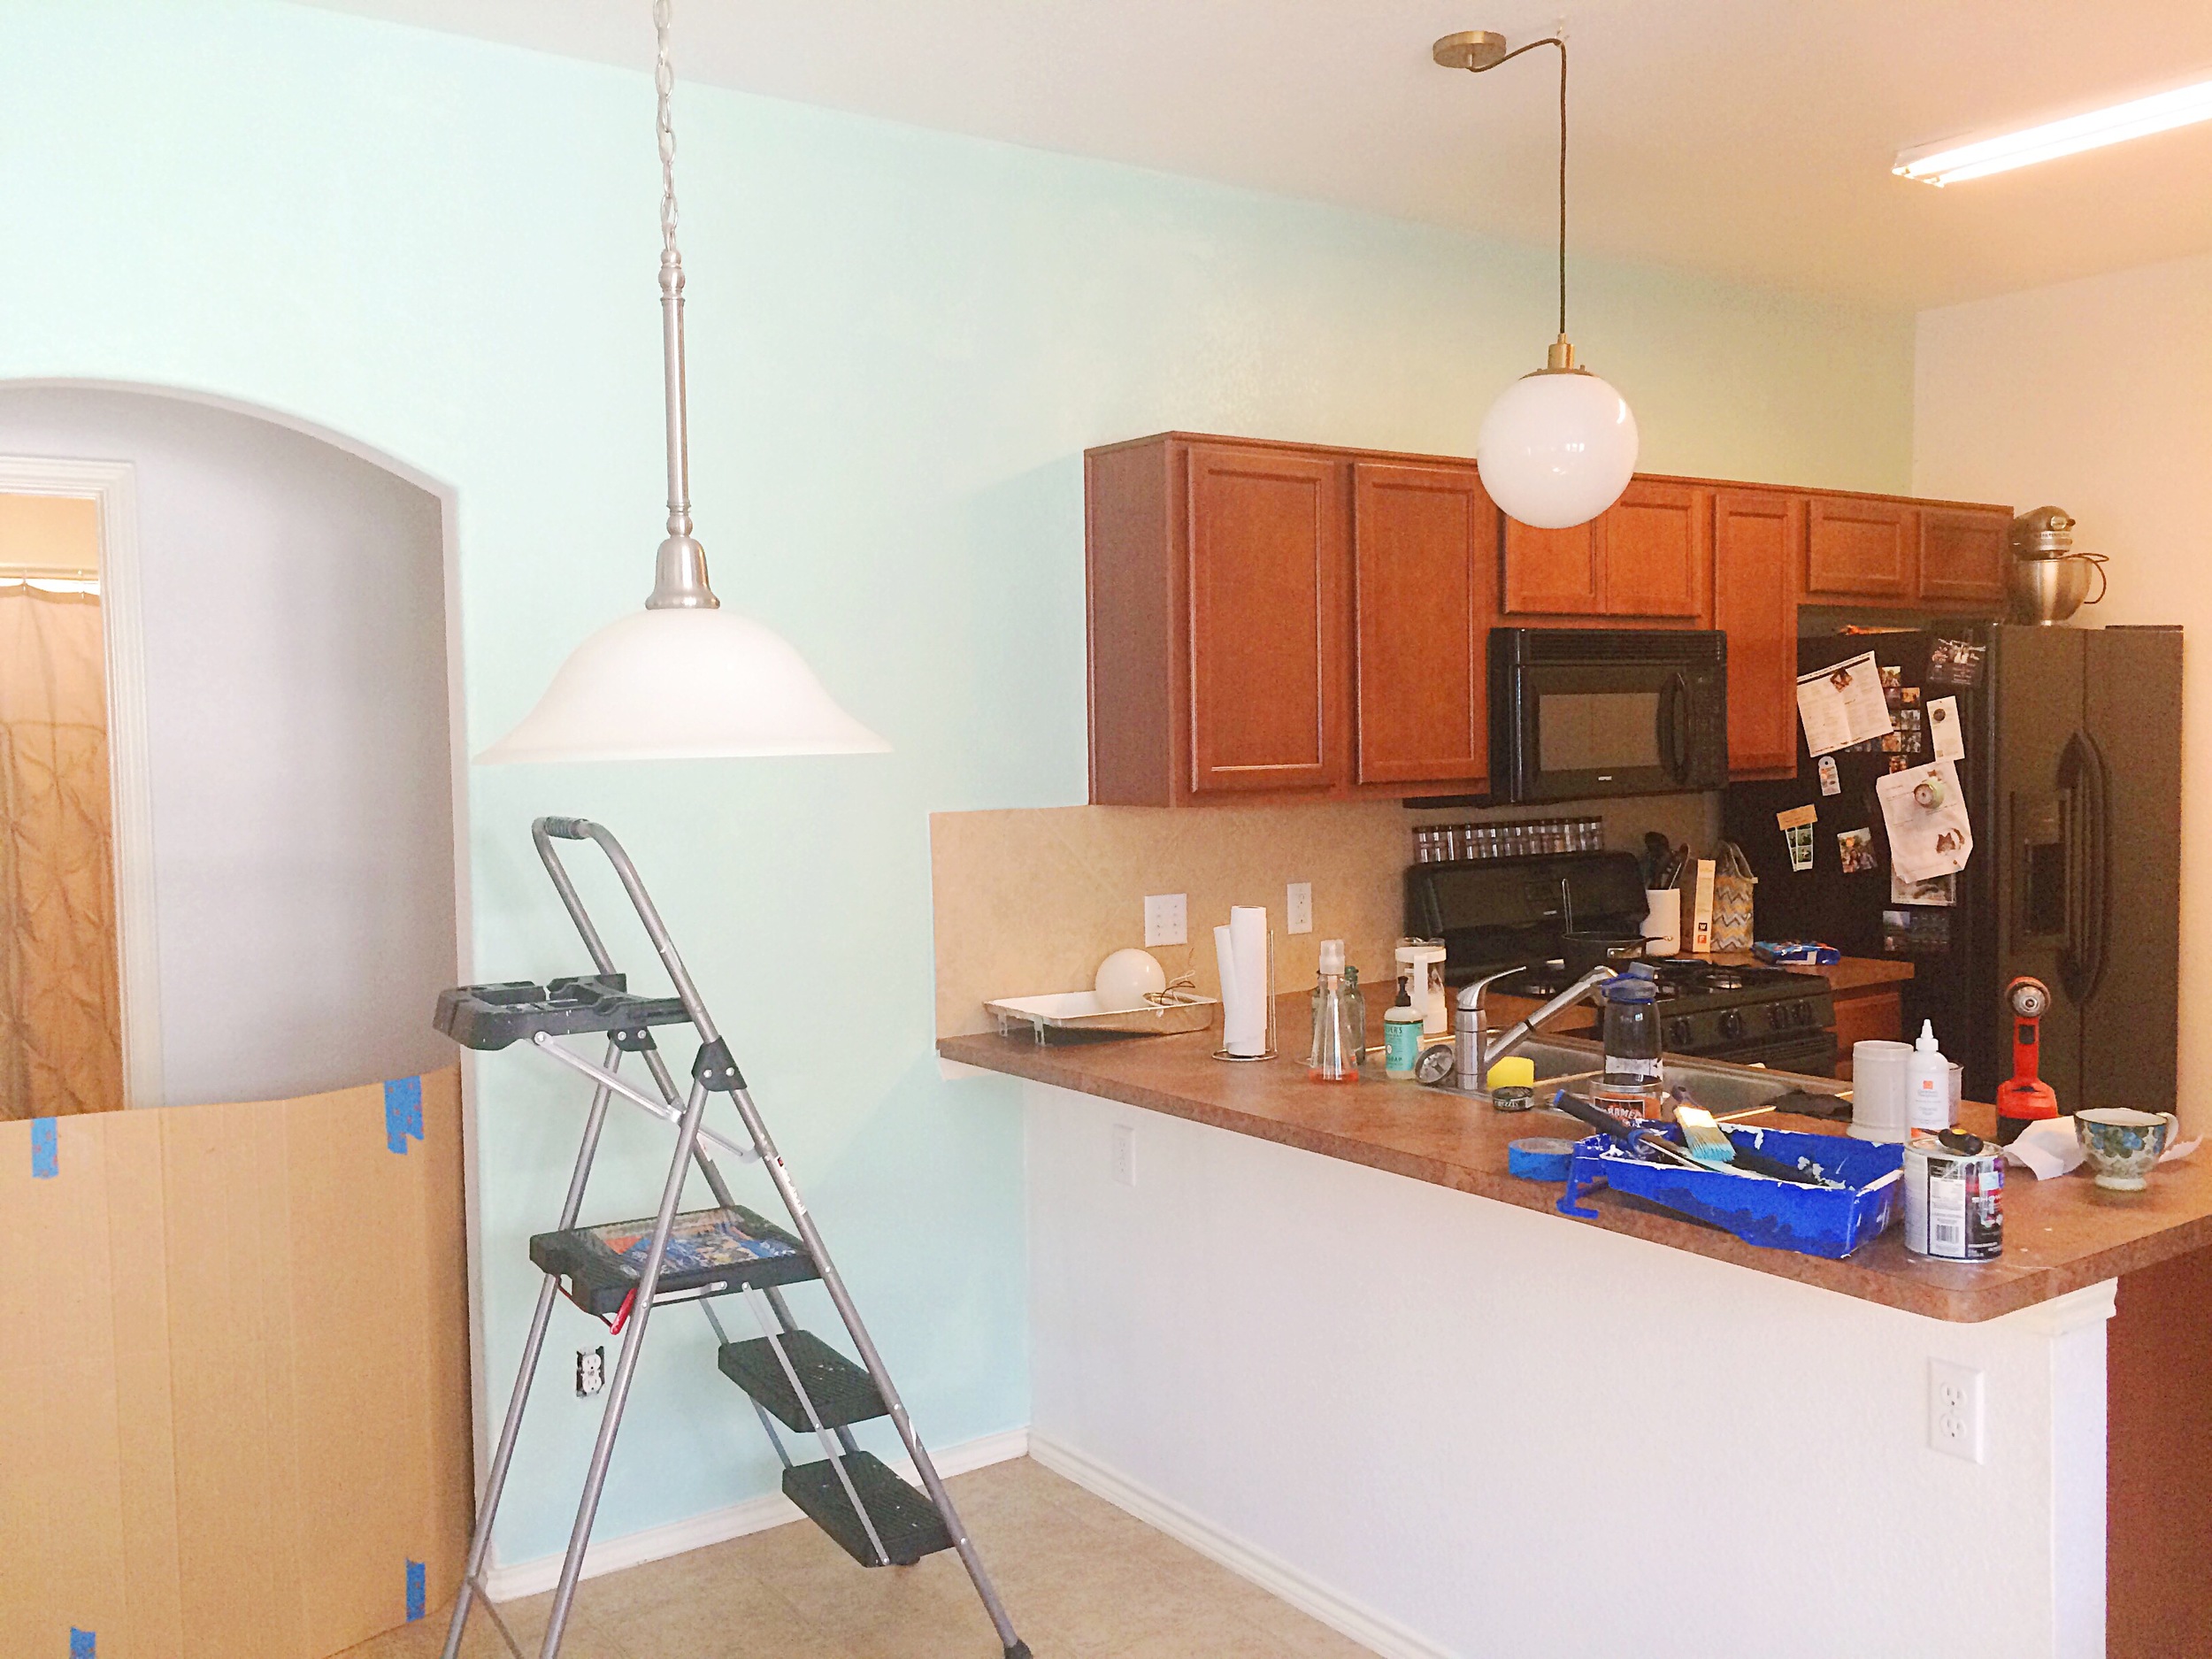
When we bought our house last year, our kitchen looked like this. You can see more here.


Totally lovely. Huge compared to our last space. And very brown. (Sidenote: I am grateful for the counter space, for the gas stove, and FOR THE LOVE OF GOD- THE DISHWASHER. Seriously, before moving here, we had gone on three years without a dishwasher. If you have lived your whole life with a dishwasher, you have no idea... the turmoil, the despair, and the anxiety that comes with hand washing every.single.last.freaking.dish.glass.utensil.)
Well, we painted the yellow/beige walls white and mint which brightened it up quite a bit.

Anyway, the counter was really bumming me out. Here is a zoomed in version of our counter tops.
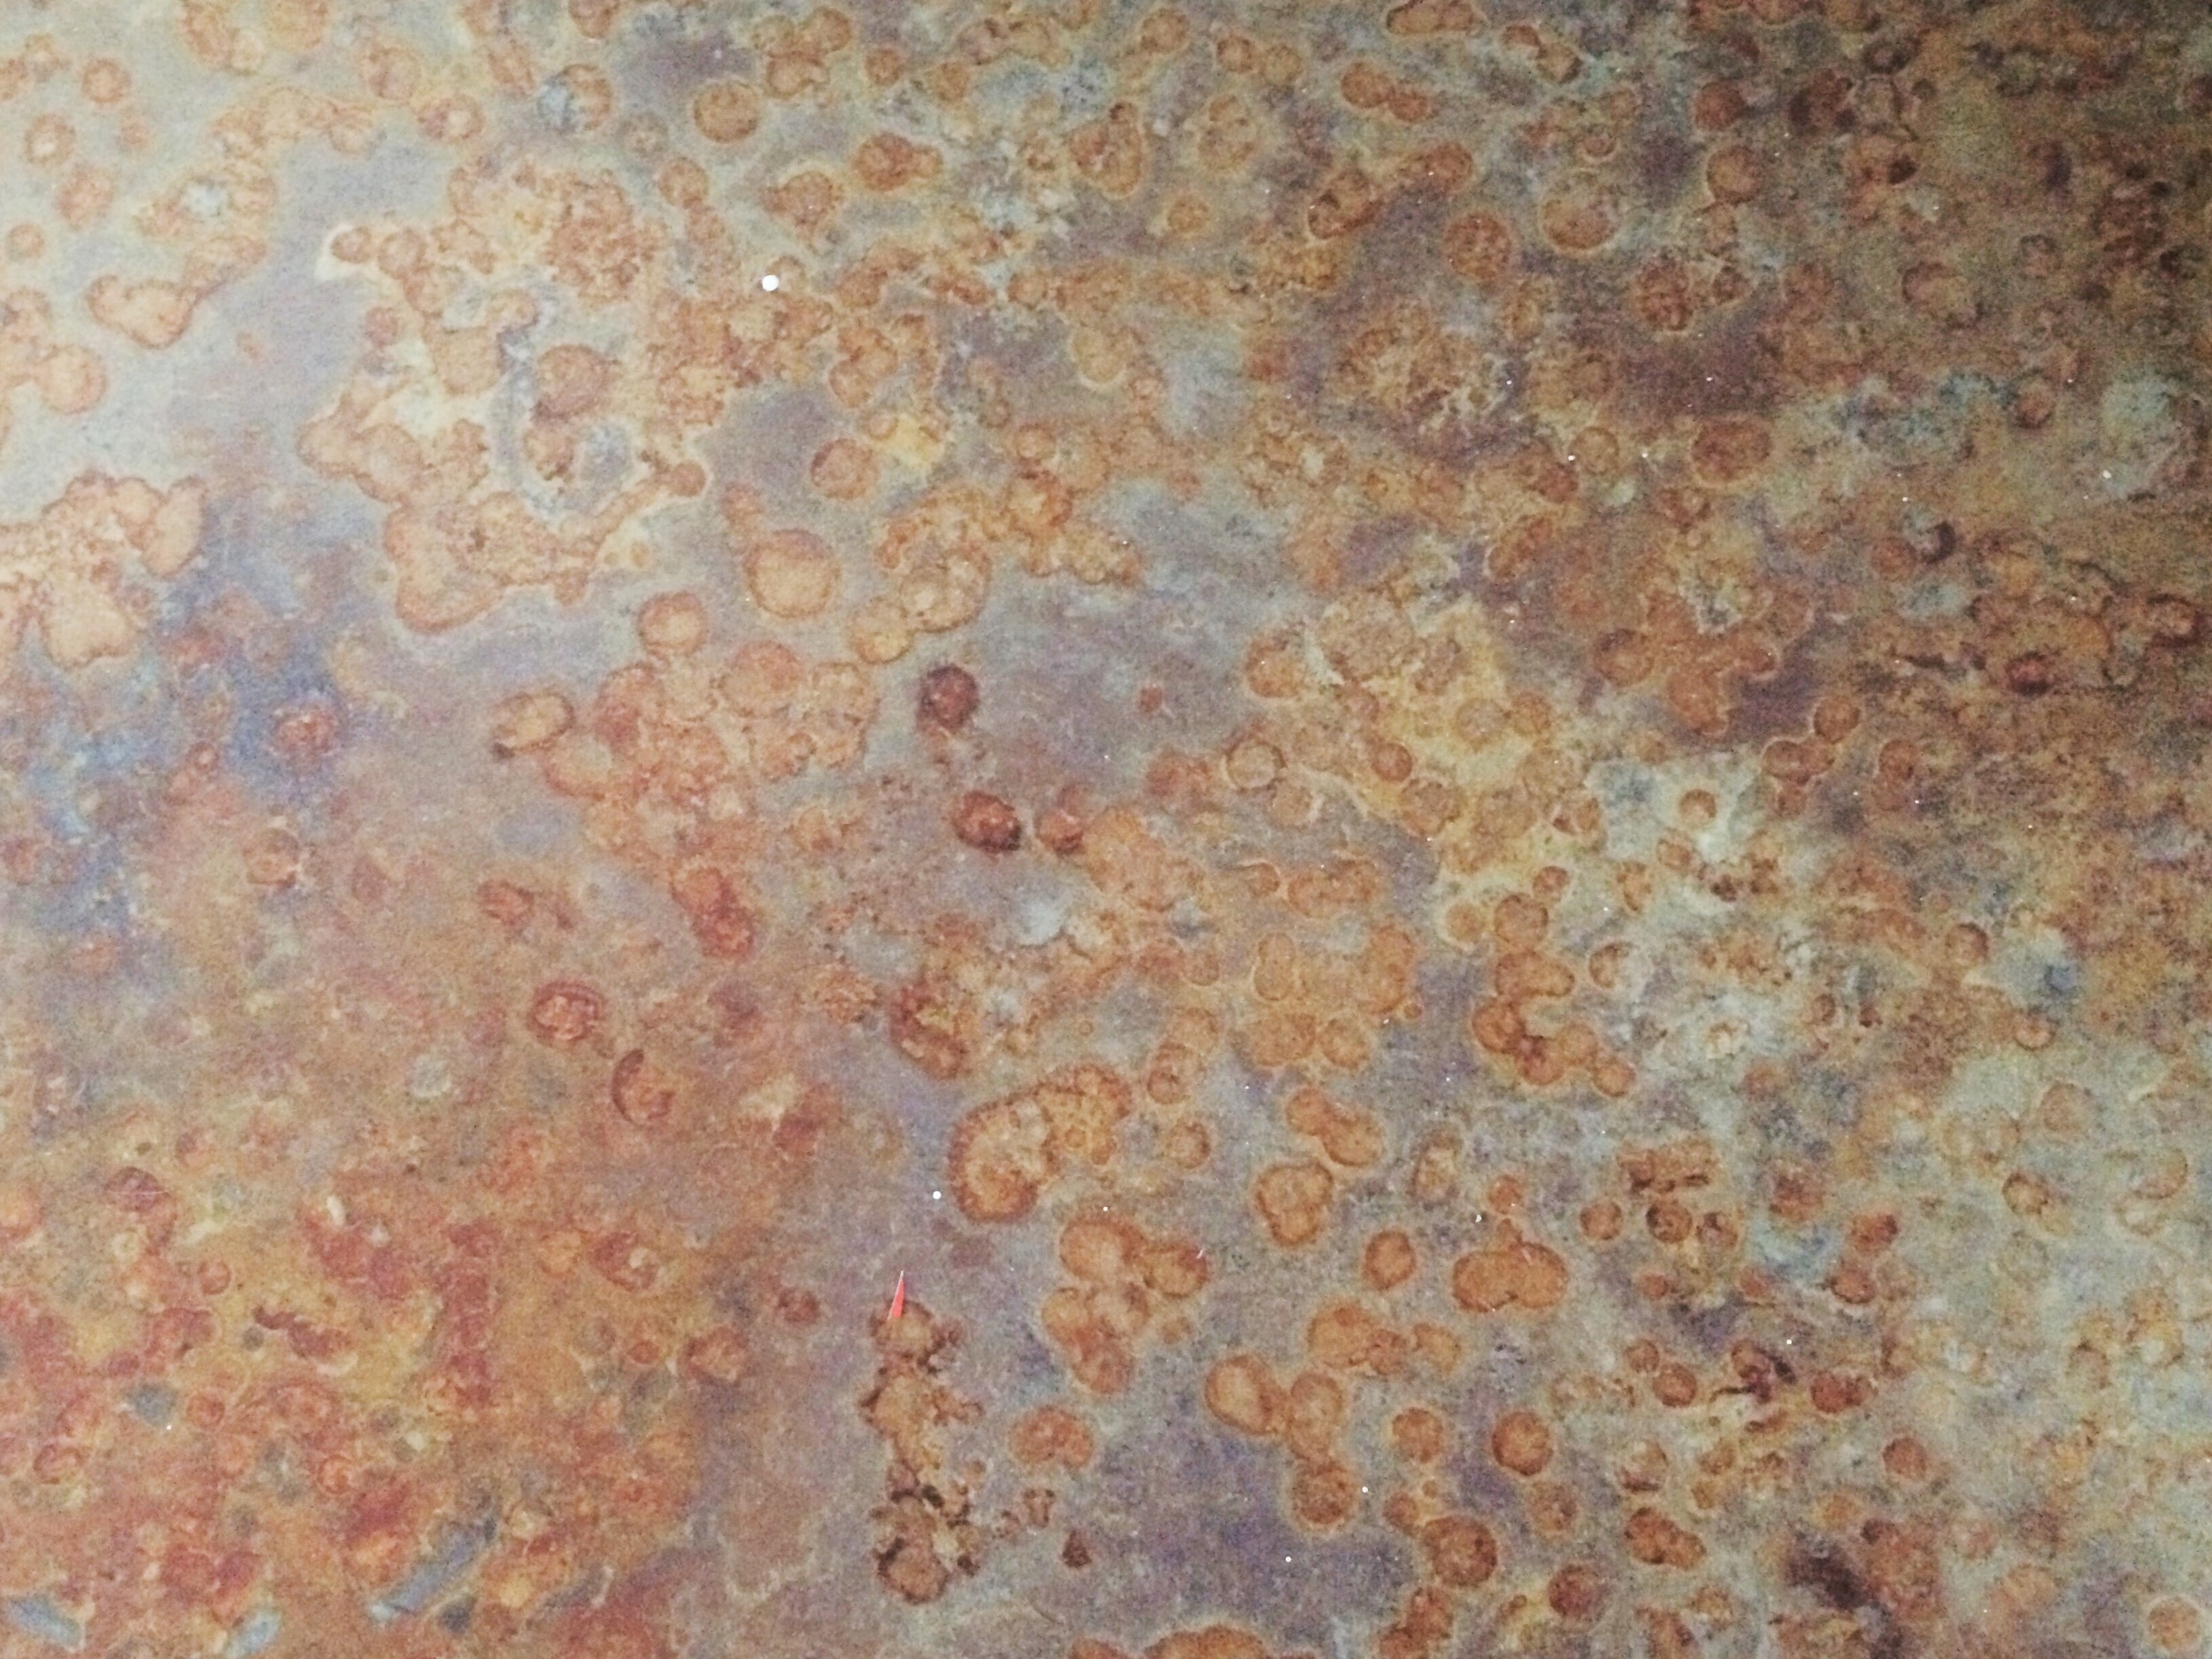
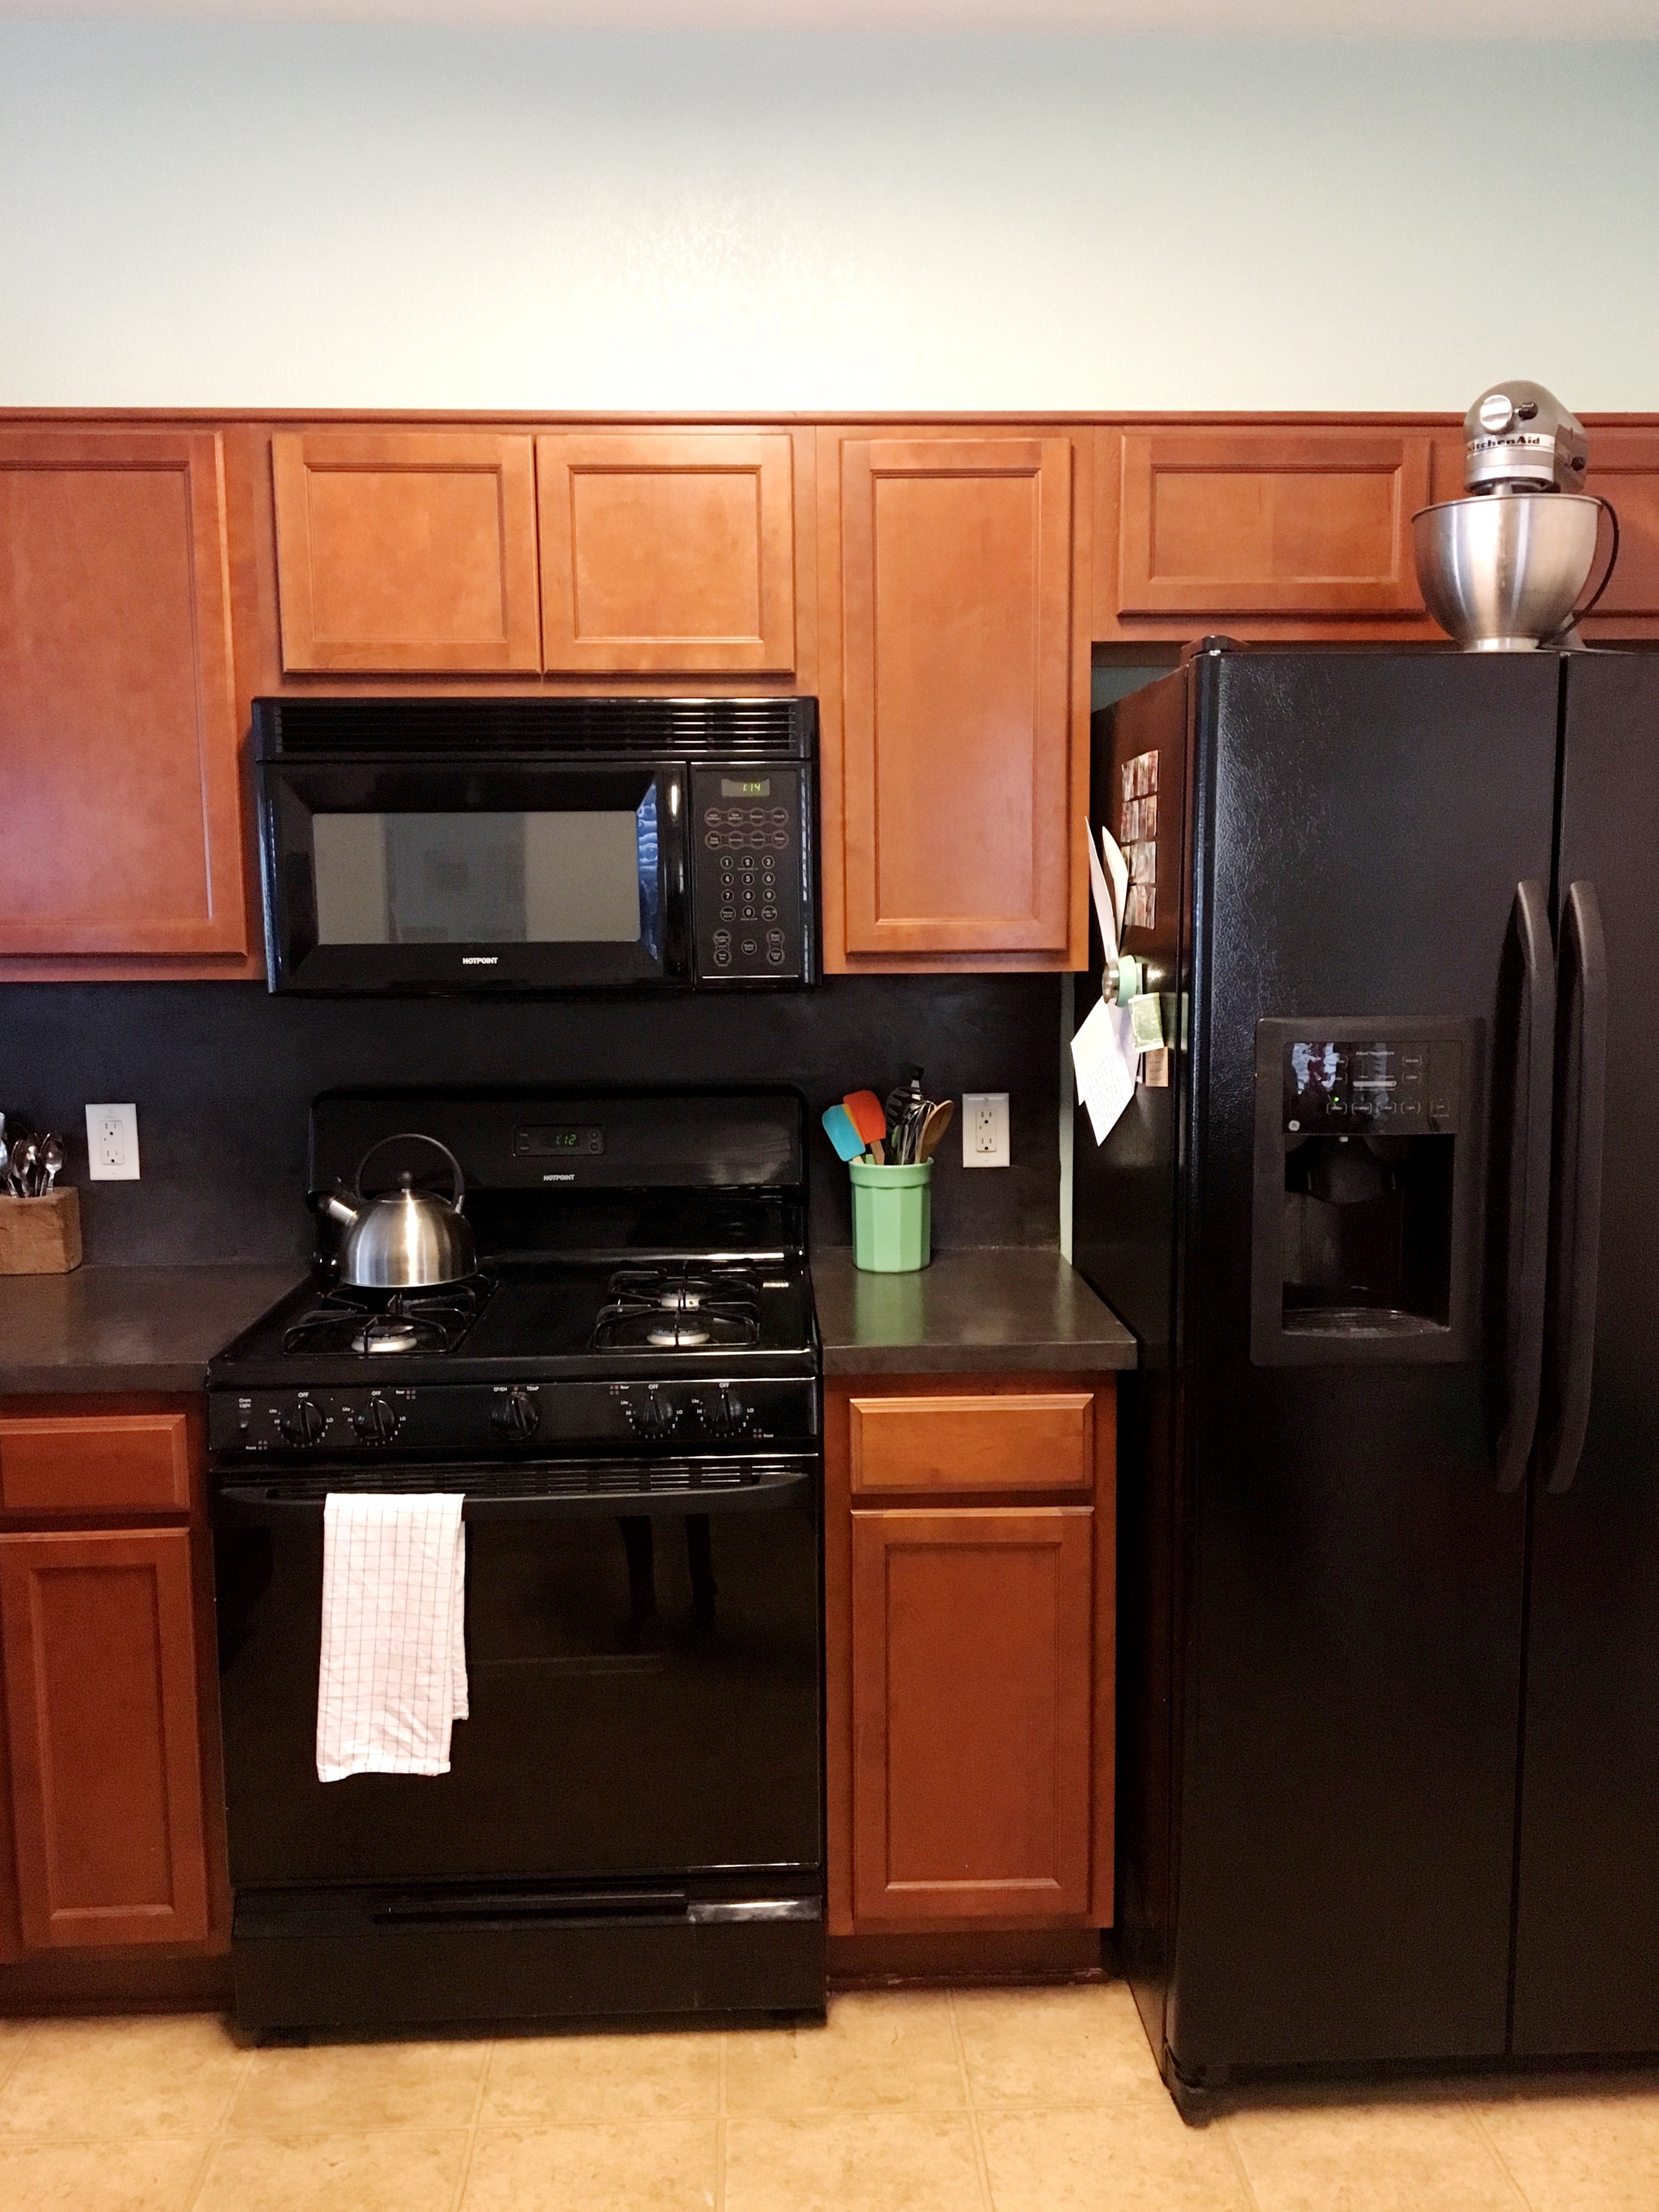
It had an amoeba/what-you-would-see-if-looking-at-a-petri-dish-through-a-microscope quality that didn't really sit well with cooking and serving food. Alas, it had to go. The problem we were facing was how to tie in our black appliances. We eventually would like to paint our cabinets white (original, I know), but we do not want to replace our appliances. For one thing, I like to operate that if it ain't broke, don't waste money replacing it. And second, I don't hate black. In fact, I love black. However, if our cabinets are white and then we have this black microwave sitting pretty right in the middle, it would look off balanced and out of place. For example:

Right? Your eyes goes straight to the appliances. So I googled my heart out and found this very right on article about how to make white cabinets and black appliances work. Thank you for figuring this out for me! Kylie says that black appliances need something to grab on to -- think black countertops and dark backsplash or 'blacksplash' if you will.
When I read that Little Green Notebook had found a way to tint her concrete counter tops black, it was go time. We followed Young House Love's instructions for the how to. I would do a few things different, which I will get to in a second. I waited until Thanksgiving break, so I could tackle the project as quickly as possible. This is a project that will make cooking in your kitchen impossible for 3-4 days, so keep that in mind if you plan on doing it yourself. Here are some of the befores.


I took very few pictures of the process. Essentially, it went like this.
Step 1. Mix concrete.
Step 2. Spread concrete.
Step 3: Allow it to dry.
Step 4: Sand your brains out.
Step 5: Repeat.
Here is just a small part of the mess that was made.

And without a shop vac, I resorted to this guy.

It was an arduous task to mix the concrete then spread it and then sand it. My shoulders and arms were so tired. Here is what the counters looked like before the sealer went on.


The one thing I would do differently is mix the concrete in cheaper, disposable containers. The buckets I used were not disposable, and I only purchased two, so I had to clean off the dried concrete before mixing a new batch.
Here are the afters.


I think once the cabinets are painted white and hardware is added, the kitchen won't appear as dark as it does in these photos. I am saving painting cabinets for some day far in the future- most likely this summer. We love how they turned out, and we did it all for under $200. We call that a win in the Brack house.
Still left to complete in the kitchen:
1. Paint cabinets
2. Choose and install hardware
3. Replace the florescent light
4. Add some can lighting
5. Paint the door
6. Find a cute rug
7. Add some open shelving on the empty wall
Let's do one before and after, shall we?
