
Hi, friends! I wanted to give you a glimpse into our living room today. More specifically, our open shelving. Open shelving always seems like something I hear about in relation to the kitchen regions, but we had seen this open shelving done in a friend's home and the price/ease of putting them together couldn't be beat! Ikea sells these brackets for $2.00 a piece. They originally come in black, but I spray painted them gold because I am a proud passenger on the gold-stuff-everywhere-bandwagon. No shame.
I first used Illustrator to draw up a sketch of what I wanted them to look like. I took into account the size of some of our art prints, a lamp, our television and where I would want to place them. I loosely used the rule of thirds to start.
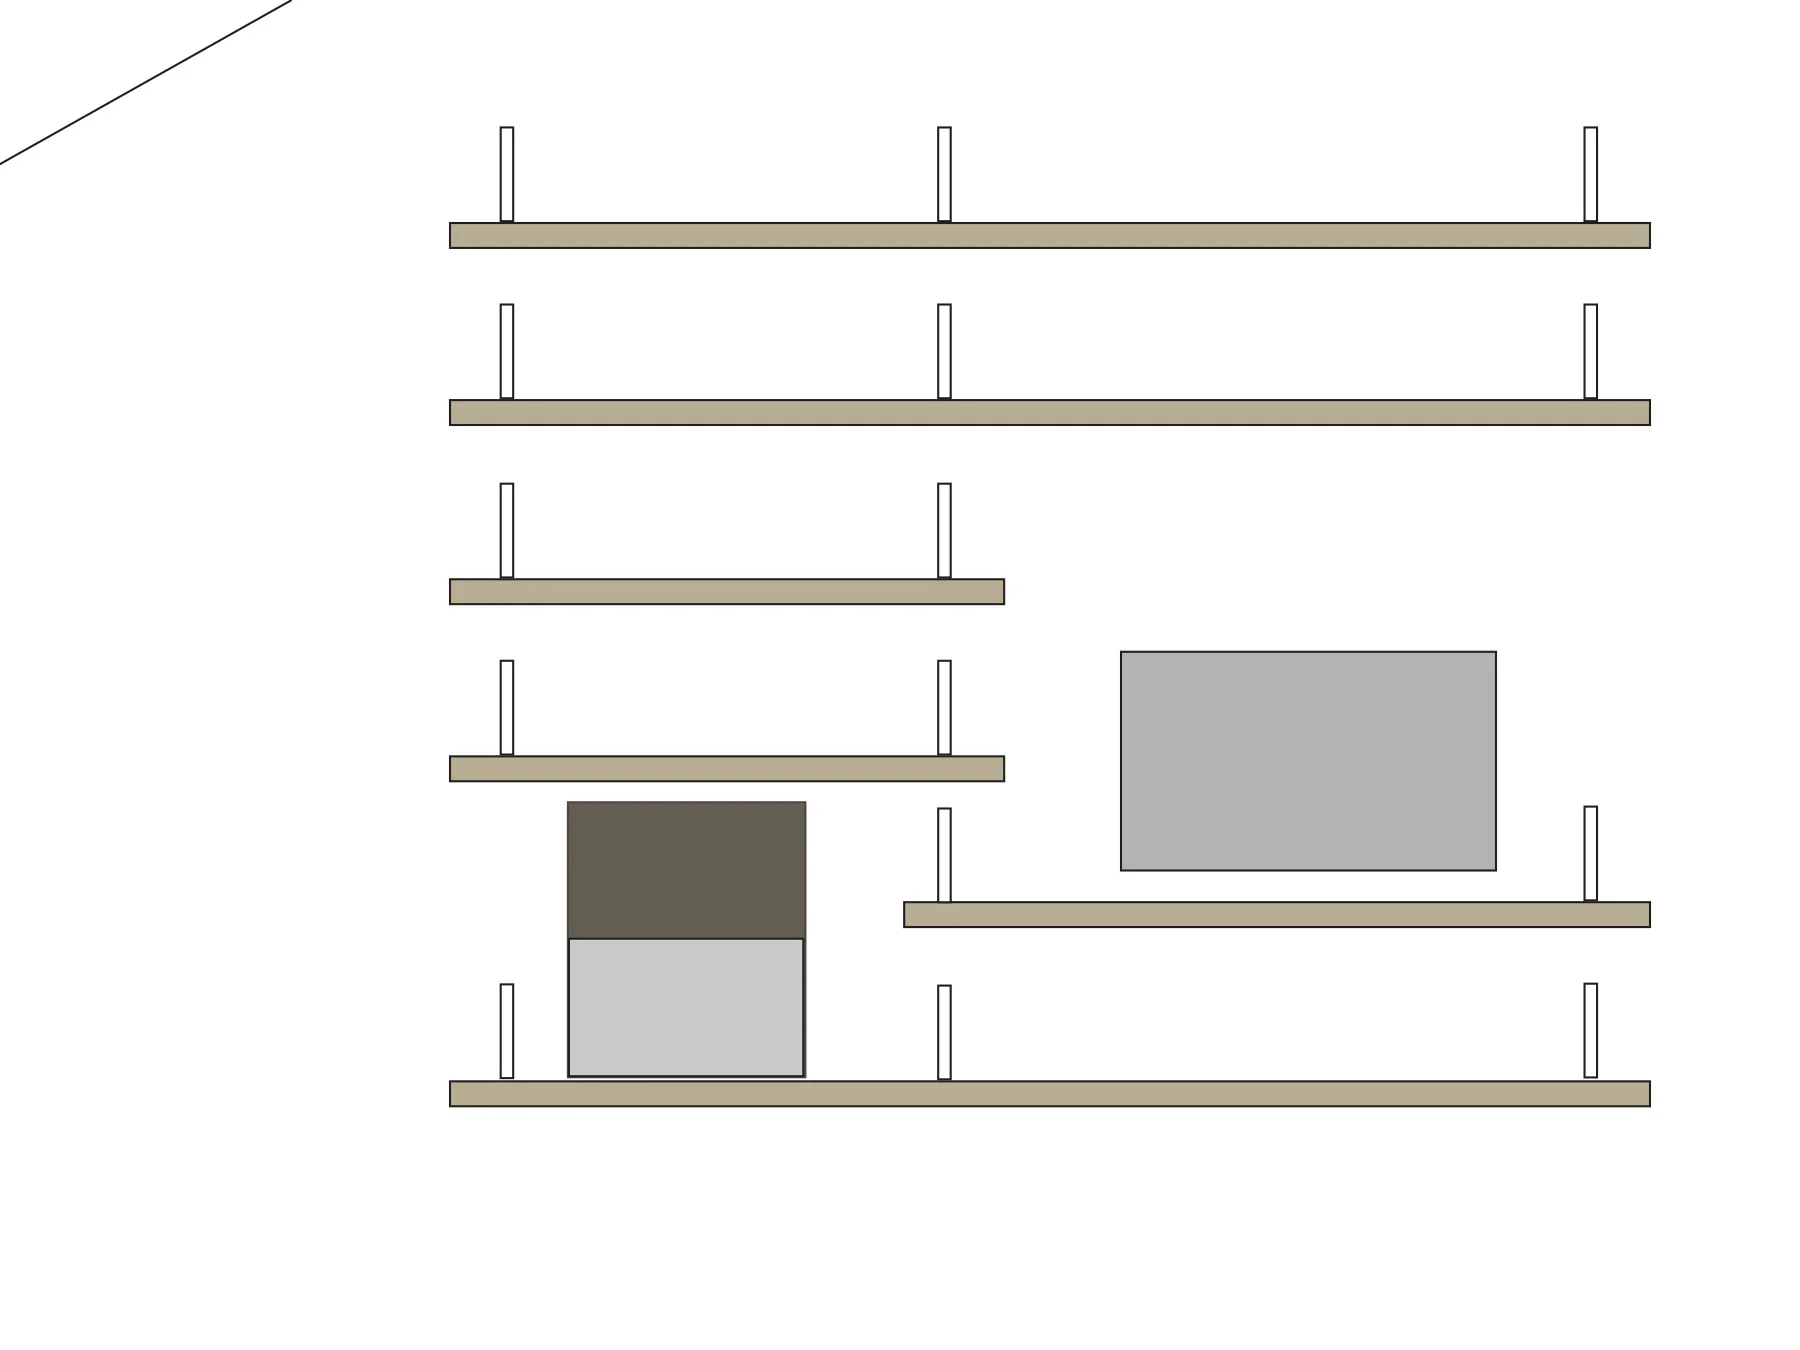
I originally planned on using the bracket above the boards, but that didn't pan out quite like I hoped. The weird brown/grey box in the bottom left was originally going to be where our record player sat, but alas, that was a fail too. The record player stuck out too much for us to feel comfortable leaving it there. Two active dogs that like to wrestle + technology in not the securest location = mess that I don't have time for.
I did have an aha! moment when I was trying to do a lots of math to take into consideration the thickness of the boards and where to start screwing in the brackets. (Hello, I am a math teacher) Our painters tape was almost exactly the same thickness of our wood, so I used our laser lever, and placed the tape where it felt right. I started with the middle two shelves because they were at eye level, then I did the top two, and lastly, the bottom two shelves.

This is where I made the decision to lose one of the shelves because when up on the wall, the shelves just looked WAY too close together. Seeing it up on the wall gave me insight that a paper sketch/Illustrator file could not.
I was really glad I did this because when it was time to screw in the brackets, I had a perfect guide. No guessing or fussing over keeping things level. We then used a scrap piece of cardboard that was perfectly straight (we checked using a level...or Taylor "eye-balled" it) to make sure our brackets were lined up perfectly too. We used 1.5" hex screws and did our very best to hit those studs.

We then had our lovely Home Depot friends cut the wood for us. For our shelves, we used 2x10s. We made the following cuts: 3 at 8 feet in length, 1 at 4 feet in length, and 1 at 5 feet in length. We sanded, and use Polyshades Stain & Polyurethane in 1 Step by Minwax to keep things moving quickly. This is the same stain we used on the desk we made.

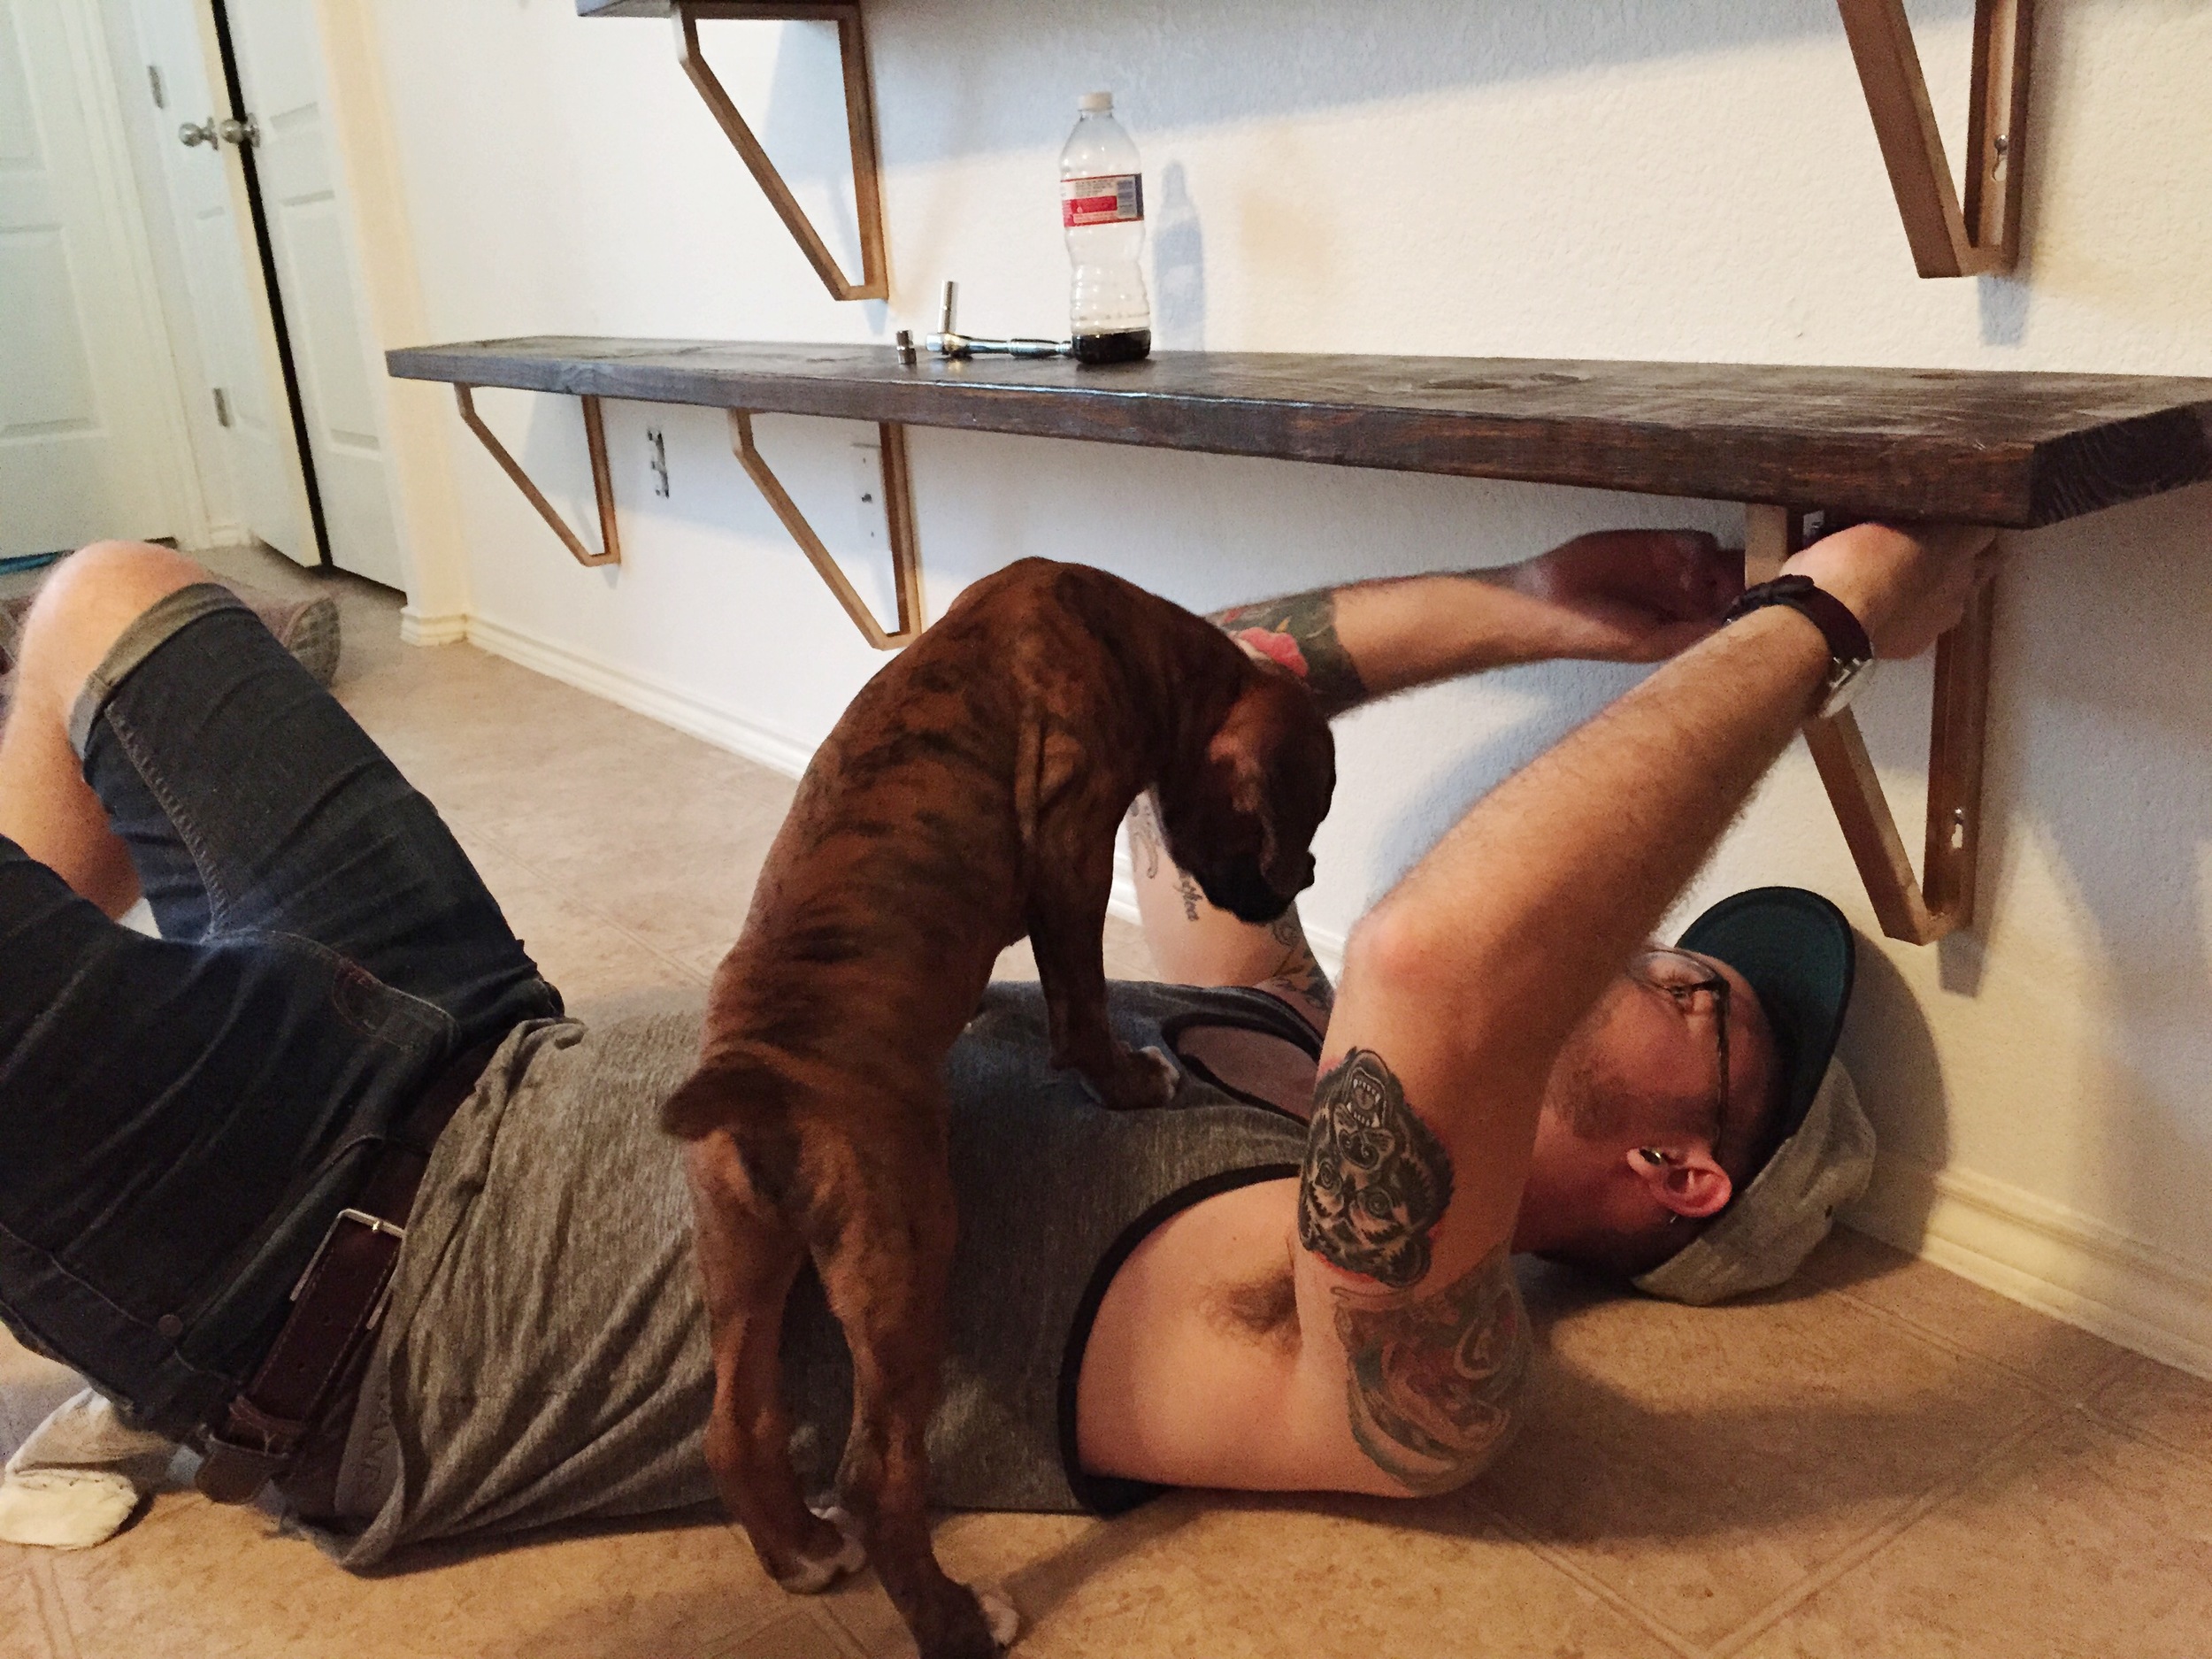
Here's where pictures get slightly sparse. Taylor put the boards on while I was at work one day, so I didn't get many process shots.

He used 2.25" hex bolts and cap nuts to secure the board to the bracket.

Yikes, ignore the finger prints/dust particles.

And here is one of Pedro, obviously slowing us down with all the cuteness. Oh my gosh, I forget home small he was.
When it came to styling, we used things we already had and played around a bit. We ran back over to Home Depot (trip #231) and grabbed some plants to add some life and clean air into our living room.
I love that we have most of our books in one place, that there are small baskets for decks of cards and other knick knacks, and our television is slightly camouflaged. Taylor was really proud of his cactus arrangement that he picked out.


I think that we spent right at $100 maybe $150. This was back in September, so I am not quite sure, but I will say that it makes a huge impact in the space. Especially, when it started out looking like this.

